Homeowners with permanent floor installation fixtures in their homes might need clarification about their best options to update their flooring.
They might be concerned about damage to floorboards or excessive costs that can make a home makeover cost more of a headache than a convenience.
Tile surfaces might only be something they would consider if they seem easy to manage.
However, choosing the right flooring to spruce up surfaces with wooden floorboards can have fantastic results, provided you get input from a professional team that knows the best practices for updating floors.
This guide provides everything you need to know about what flooring you can put over floorboards and how to ensure your floors look their best once tiled.
What flooring can I put over floorboards?
Whether you want to cover an entire floor or spruce up one or two spaces, such as living rooms, you likely want minimal damage (if at all) to your wooden floors.
Tiled floors can help you create smooth surfaces with more than enough variety. Laying floor tiles can be an easy solution if you are looking for easy-to-clean flooring that will retain beautiful designs for longer.
Also, tiles are a good solution for the whole family. They are scratch-resistant and provide water resistance, ensuring that water will not seep through and damage the floorboards underneath with the proper application.
What types of finishes can I consider for floor tiles?
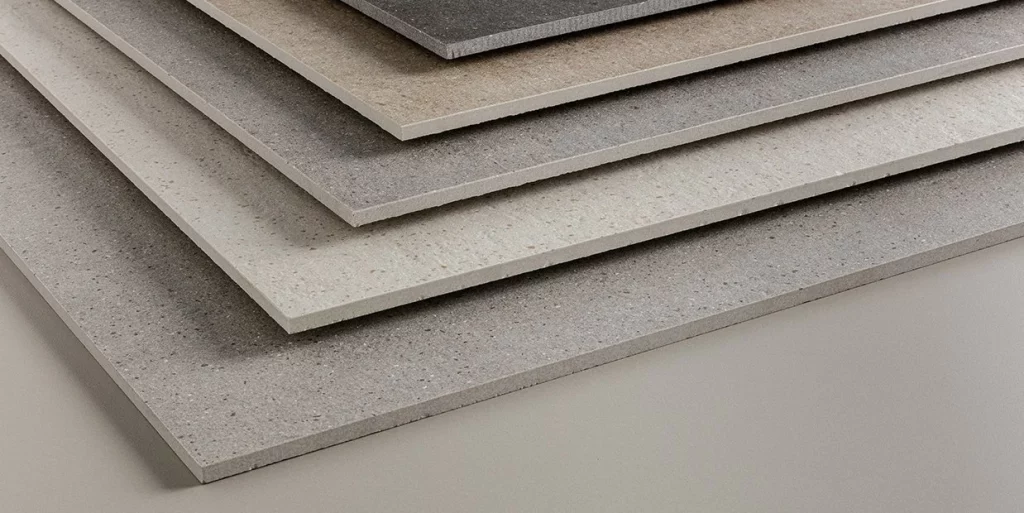
Several tile options are available in the interior decorating space that you can put over floorboards following proper treatment. These designs can help you create beautiful patterns, or keep your flooring designs streamline with one base colour. Here are some of the best tile options that you could consider.
Ceramic tiles
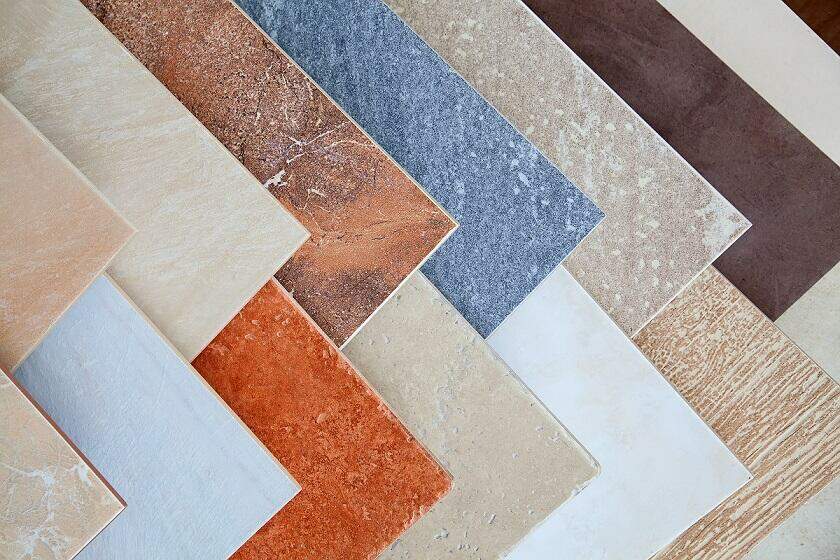
If you want to update the floorboards in your kitchen or dining areas, ceramic tiles can work wonders for aesthetic and practical purposes.
Ceramic tiles are hard-wearing, durable, and easy to clean, perfect for surfaces where spills and messes can easily happen.
Porcelain tiles
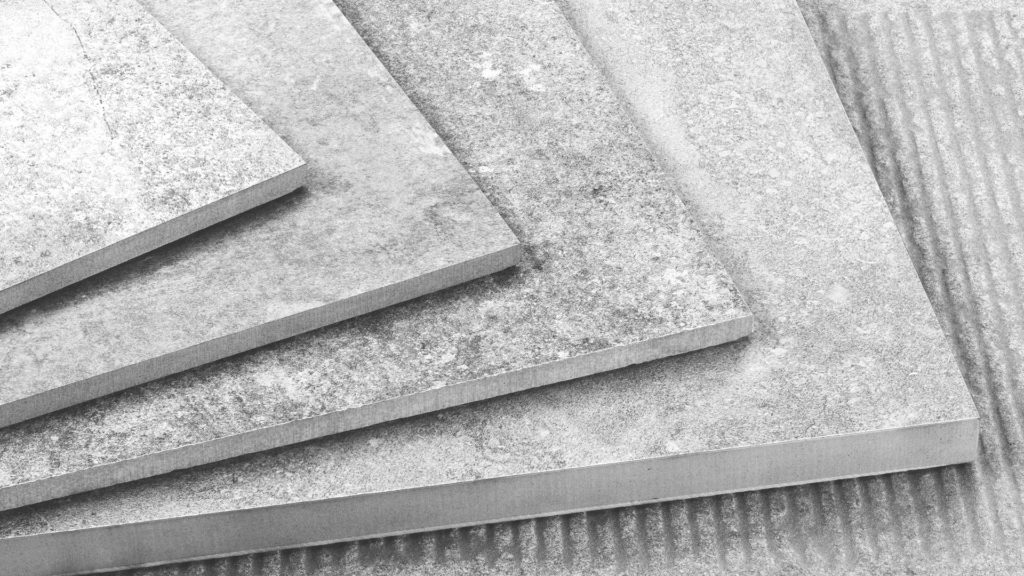
Porcelain tiles are known for their incredible strength and staying power, making them ideal for surfaces throughout any home.
They are available in several stunning finishes and styles, making it easy to match the colour scheme of your home decor.
Wood effect tiles
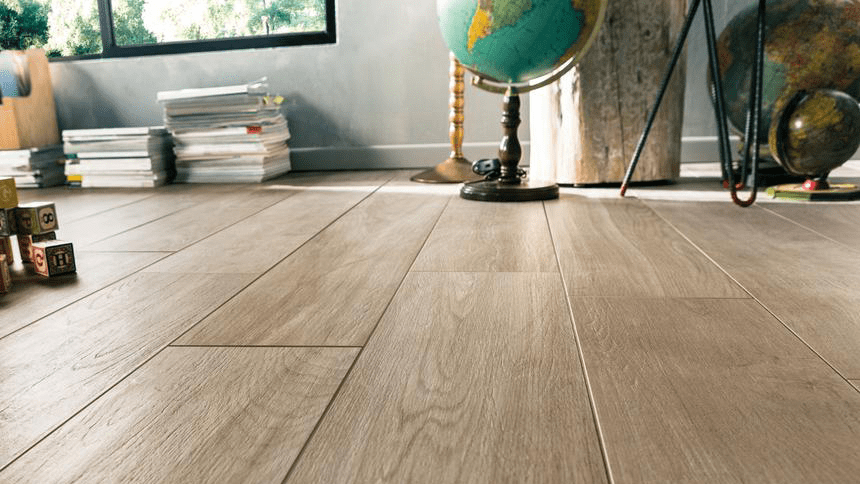
Wood effect tiles can give the convenience of a natural wood-look floor but with benefits such as easy maintenance and durable designs.
These tiles can streamline the look of your flooring throughout your home, creating an eye-catching design flow from room to room.
Also, if you want to extend the look of your new flooring design, you can use the same tile options for your patio.
Marble effect tiles
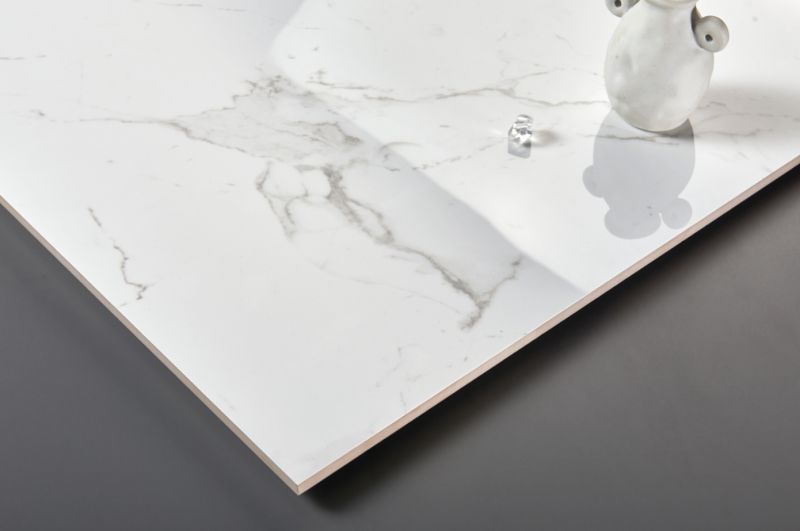
Chic and opulent marble effect tiles (often available as ceramic or porcelain tiles) can transform spaces such as living rooms with instant sophistication.
If the applications you are considering are suitable for wall coverings, you can consider a flooring-to-wall look that adds elegance to any room.
Patterned tiles
Patterned tiles can give your flooring a “rug like” effect, allowing you to infuse gorgeous colours into your floor’s design.
Choose patterned porcelain or ceramic tiles to put over your floorboards, as these tiles will be able to retain their gorgeous patterns and colours for longer.
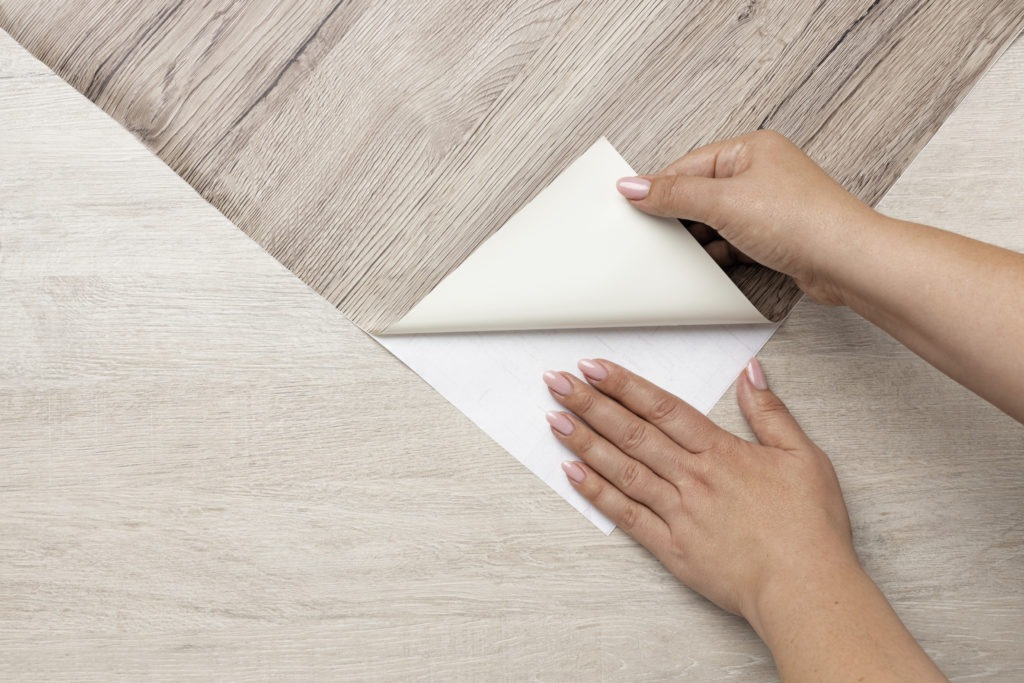
Vinyl tiles
Vinyl tiles are fantastic solutions for water resistance and low maintenance. They have a luxury feel and have a timeless design that suits most home interiors.
If you want to incorporate this look into your flooring, you can consider vinyl composite tiles or waterproof luxury vinyl tiles.
Combined tile styles
Putting flooring over floorboards is not limited to one tile pattern or colour.
Depending on your colour preferences, consider patterned tile borders with one primary base colour, or create patterns for a unique look.
This can be an excellent style for living rooms and dining rooms, adding extra vibrancy and texture.
What colour tiles are best for flooring over floorboards?
Cream, beige and grey are trending floor tiles to consider if you want to stick to neutral colours when adding floor tiles above floorboards.
However, patterned tiles can create design impact, so if you provide the more colourful decor, these tiles can be a good fit for your home.
Want a quote from us?
Our team are ready to discuss your project and help get you moving
DIY guide: tiling on floorboards
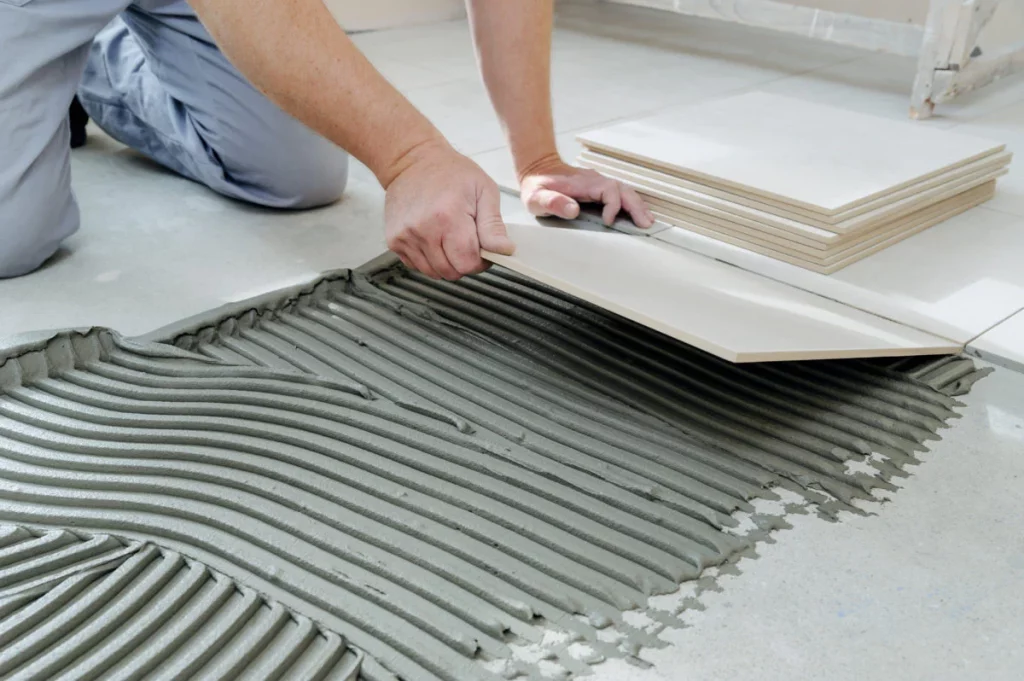
Are you ready to start your DIY project to transform your wooden floor into a gorgeous, smooth surface?
Have a look below at tips for successfully laying tiles on top of wooden floorboards.
How to prepare a wooden floor for tiling
1. Make sure you have all the items necessary for the job
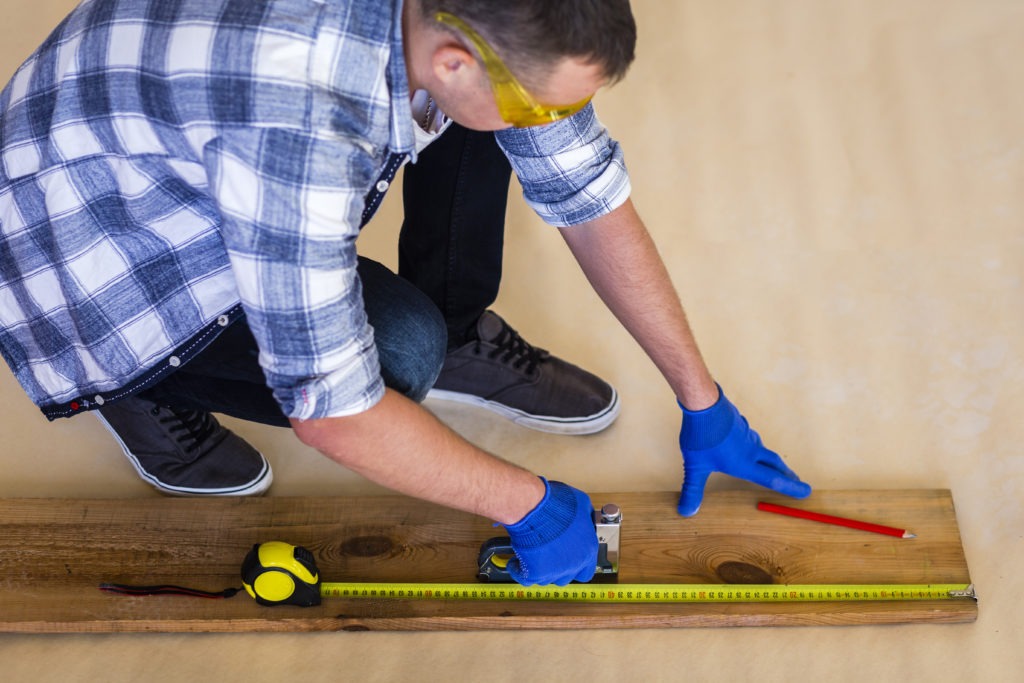
Over and above having protective gear that will ensure you do not inhale dust and that you adequately protect your eyes, you will need essential items such as a tiling trowel, a mixing bucket, electric mixing tool nozzles, an electric tile cutter (or manual, if you prefer) and an electric drill.
Dam sponges, countersunk screws, an electric cordless screwdriver, a pencil, grout, and a tape measure need to be on your list as well.
Other items include a broom, ceramic tile underlay, primer, and adhesive.
You can also consider having a caulking gun, as this will allow you to seal gaps or cracks properly.
2. Secure loose floorboards
Loose floorboards can quickly move around if not secured in place.
The best way to ensure all boards are fixed in place before you start the process of putting flooring over floorboards is to make all loose tiles and then use your countersunk screws to ensure you have an even and consistent floor level and surface.
Following this, give your floor a good sweep to ensure no debris could get stuck when you start laying tiles.
3. Consider whether you can lay tiles directly on top of floorboards or not
In most cases, you cannot lay floor tiles directly on your floorboards. Before you begin tiling, you will need plywood or waterproof backer boards fixed on top of your wooden floor.
Most DIY stores have these overlays and can advise on the best options for your planned projects.
Plywood is usually a thicker alternative and could raise your floor levels. On the other hand, backer boards are generally thinner and will not change your floor levels much.
An example of where plywood backer boards can be used is vinyl tiles. About 6 ml of plywood is required, and once a layer of screed has been applied to the tiling board, you can start laying tiles.
(Note: If you, at this point, have decided rather to add carpets, keep in mind that an underlay will be required, but there should be no issues fitting the materials over floorboards.)
4. Lay your overboard
Work from floor edges from corner to corner to get the right size overboard in place. Once you have covered the entire floor, you will be tiling; you can work using your caulking gun to apply your adhesive.
Then, use your electric drill to fix your screws in place.
5. Use a tile primer
The next step, before you set to work laying your tiles, is to apply a diluted SBR primer. One of the most important reasons to use primer is to ensure the length and that your overboard gets a waterproof coating.
Also, your primer will make it easier for your tiles to fit your prepared surfaces.
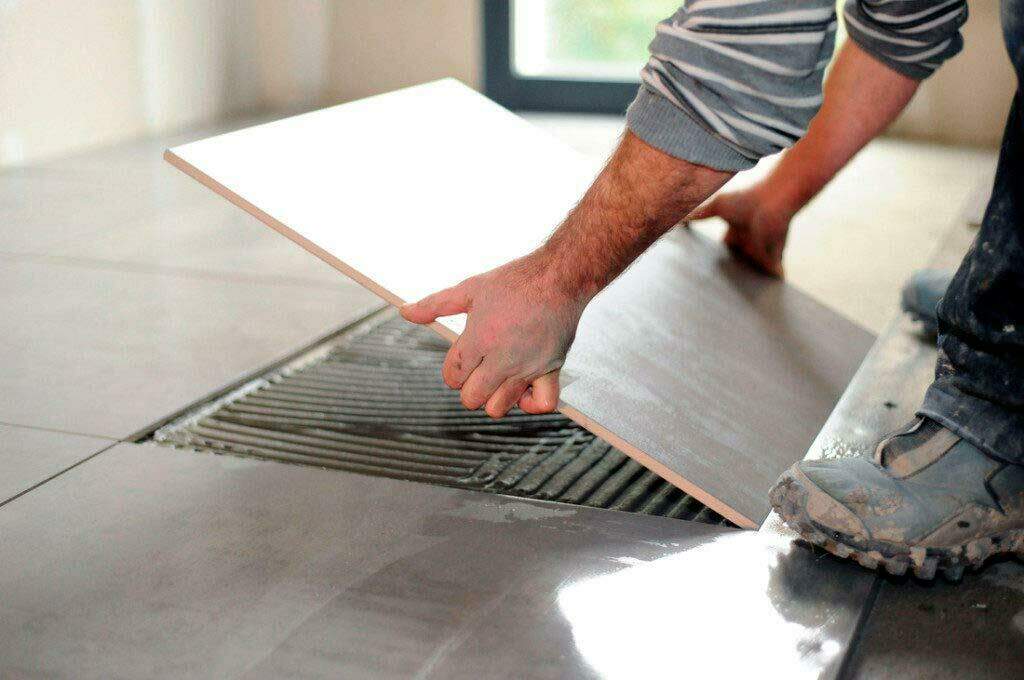
6. Laying your tiles
You will need a flexible adhesive and grout for a perfect floor finish to create a smooth and rigid surface.
Also, your adhesive will ensure your tiles are not disturbed by movement once all pieces are fixed and the glue has dried completely.
Remember that your tiles need around 48 hours to set correctly, so ensure your household knows they must avoid the tiled area. Keep pets away to avoid spoiling the newly created flat surface.
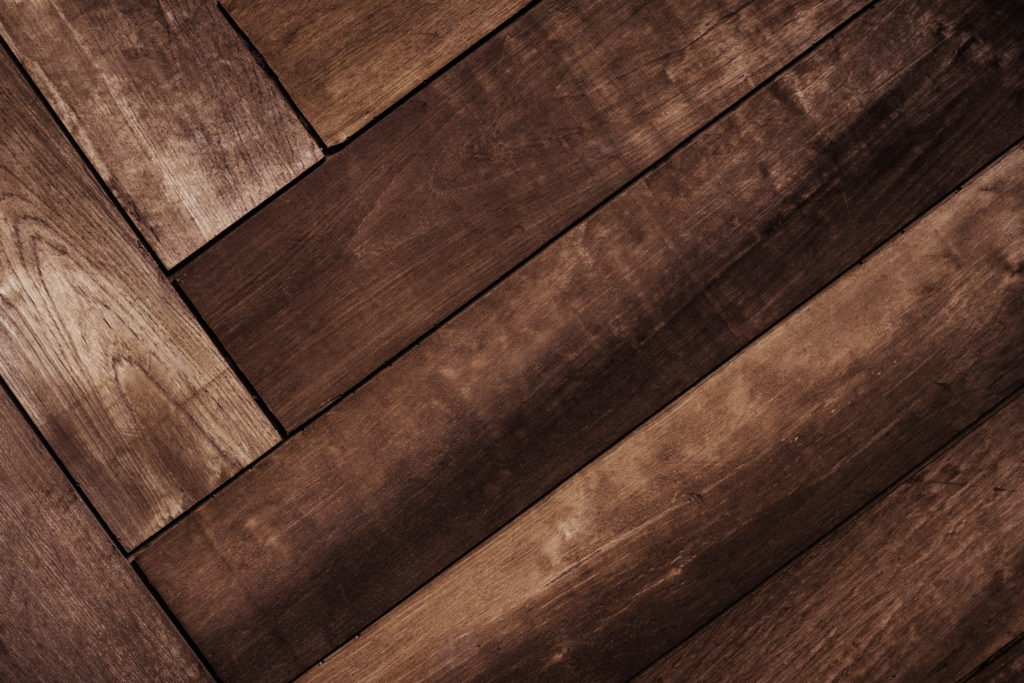
Should I rather keep my wooden floors or go for wood effect tiles?
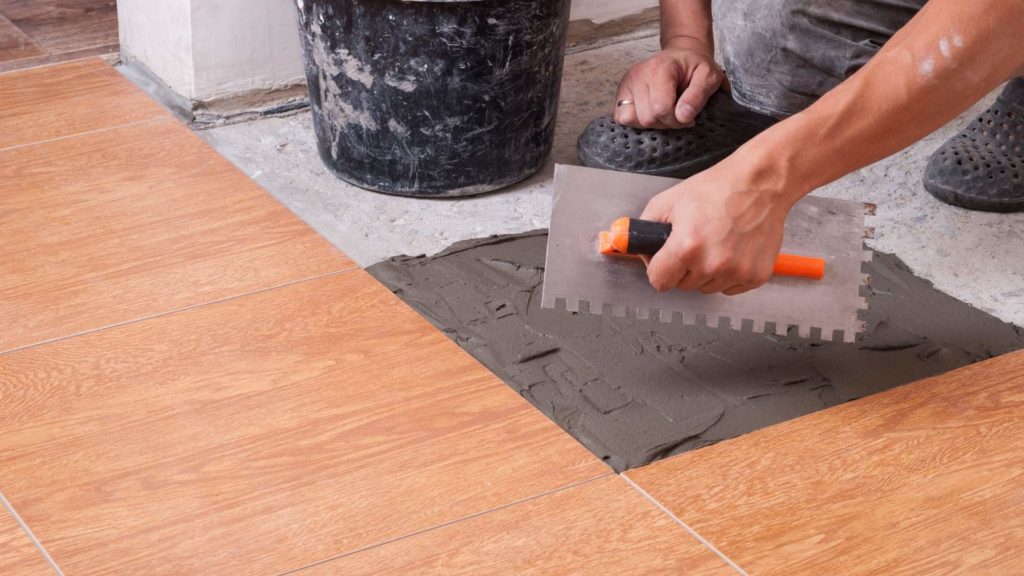
Considering what updating your wooden floor surfaces will require, you might wonder whether retaining your current flooring would be better.
Although wooden floor options have charm, they require regular upkeep, including sanding, which can be cumbersome when you only sometimes have the time to work on home improvement.
Wood effect tiles, on the other hand, can give you a stunning wood look with minimal maintenance and gorgeous surfaces that retain their designs for longer.
Also, wood effect tiles can feature a lot of variety in natural wood effect styles or different hues.
So, if you have been wanting to update your wooden flooring with minimal effort, wood effect tile designs can provide an easy installation process.
Want a quote from us?
Our team are ready to discuss your project and help get you moving
Are floor tiles good choices for updating my wooden floorboards?
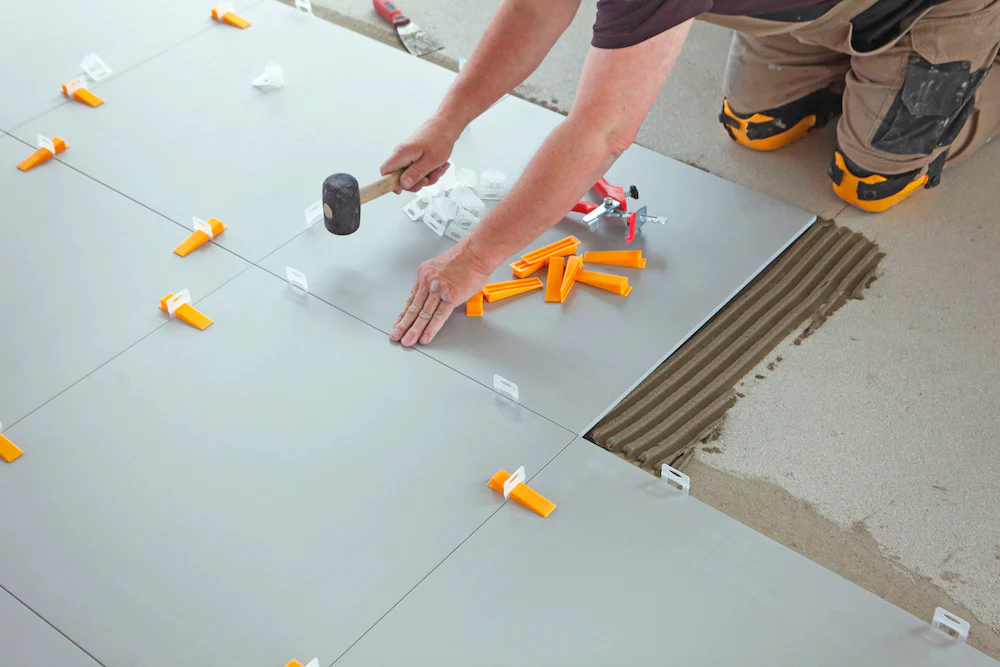
Floor tiles can be fantastic when you need to update the look of wooden floors or refresh outdated designs.
If you want your home to look more contemporary, tile surfaces can create stylish looks that provide instant design appeal.
Just one word of caution if you want to add tiles over wooden floorboards: Keep in mind that adding tiles above your floorboards could raise the levels of your floors slightly.
So, if you are planning your DIY project for the near future, you should consider floor levels and whether it will impact any doors leading to living rooms or other spaces.
Ensure you maintain a consistent floor level by using appropriate overlays before laying your tiles on top of your floorboards.
Tilling over floorboards: what are the challenges?
As rewarding as a beautifully tiled surface can look, some obstacles must be avoided to ensure your floor tile installation is manageable.
Watch out for these tiling challenges:
1. Loose floorboards
Only start tiling once all floorboards are firmly fixed and movement is possible. Otherwise, you can have unstable flooring or tiles needing to be firmly fixed.
2. Cracked tiles
Be careful not to lay any cracked tiles in your DIY flooring design. Cracked tiles can easily damage and spoil the overall look of your flooring.
3. Not checking if the backs of tiles are clean
Clean tiles will be easier to bond with your tile adhesive, so ensure that there is no debris or dirt present that could make it difficult to lay our tiles.
4. Not using your tile adhesive the right way
If you only apply adhesive to the side of your tiles and not the full surfaces underneath, your tiles will not properly bond to your wooden floorboards. Ensure you have enough adhesive to keep your beautiful tiles in place.
5. Not having a levelling kit as part of your flooring tools
A levelling kit can help you create beautifully levelled surfaces and grout lines that are even. Ensure that you have this tool at hand to create perfectly polished flooring.
6. Not using plastic tile spacers
Tile spacers ensure two things: one, that your floor remains level, and two, that you can add the right amount of grout tiles.
If you do not use plastic tile spacers, your tiles could be spaced too closely and more easily damaged.
Summary: Is tile flooring over wooden floorboards worth the effort?
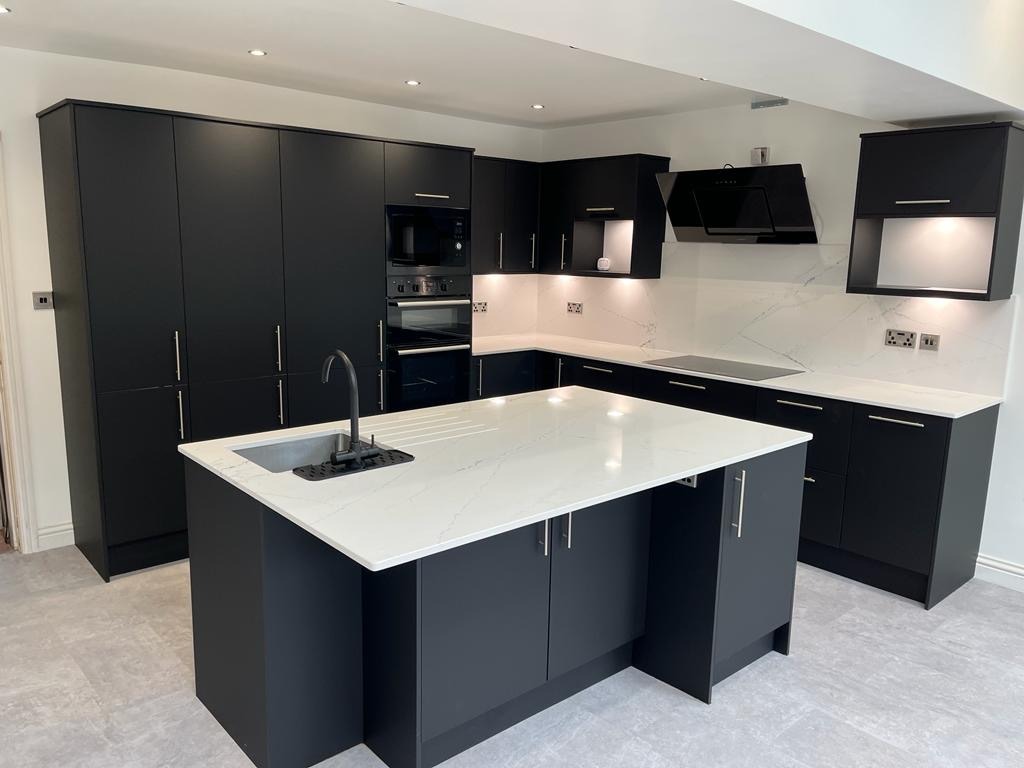
Tiled floors provide several benefits for homeowners who want flooring that provides long-lasting beauty.
These flooring solutions do not have the disadvantage of wood floorboards that can crack or creak and often need expensive treatments to keep on looking their best.
Properly tiled surfaces can have a uniform look with beautiful surfaces, making them ideal for any home update.
The benefit of tile flooring over floorboards is that floorboards do not need to be removed entirely. Using suitable overlays and primer and following instructions in the product specifications makes it easy to have any wooden floor prepped and ready for beautiful tile looks.
With several tile options, getting the look you want can be easy. So, consider what style you would like to bring into your home.
Whether you want a classic look beige tile, a vibrant patterned tile that can add vibrancy to your floors, or a combination of styles, it is easy to achieve so many designs.
Ensure that you know the advantages of each floor tiling option before making your final decision, and consider speaking with a flooring professional for tips on how to make the most of your DIY flooring project.

